
Intro
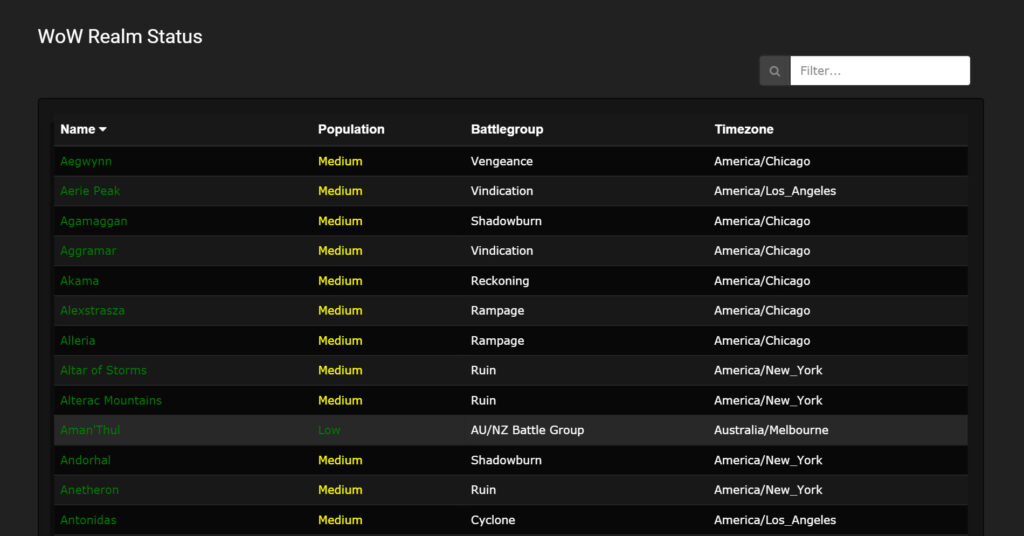
This tutorial will show you an example app I wrote in AngularJs for the popular video game World of Warcraft. It will show you how to create simple http requests against Blizzard’s API, you’ll need to register for an API key there if you plan on running this app. It will then demonstrate how to take that data, and populate an html table, which we will also build sorting and filtering into.
This project is free and open source, it can be found on GitHub.
A demo of it working live can be found here.
Prerequisites
To start this application off, we will need to create a web directory with three folders in it (css, js, fonts), that we will later populate with our code, for our web server to send up to the clients browser. Inside the js directory, we’re making two new folders, home and libs to organize things a bit. Home will contain all the controllers and views that are related to the home view, any other views added later will have their own directory. Libs contains our JavaScript libraries as you may have guessed.
List of 3rd party libraries used:
- Bootstrap 3 (any theme).
- Font Awesome 4.
- UI Bootstrap directives.
Getting started
Lets go ahead and start creating some JavaScript, create the file app.js inside the js directory, which will contain our AngularJs module to bind everything together.
(function () {
    'use strict';
    angular.module("RealmStatus", ['ui.bootstrap']);
})();
Notice we’ve added in our ui.bootstrap module, this allows us to implement their code throughout the rest of our application module.
AngularJs Factory
The AngularJs factory is responsible for creating http requests against the Blizzard API to retrieve the data, in this case a list of World of Warcraft realms. If you haven’t received an API Key yet, now is the time. Create the app.factory.js file and change apiKey to your own.
(function () {
    'use strict';
    angular
        .module("RealmStatus")
        .factory("RealmService", RealmService);

    // Minification friendly dependency injection
    RealmService.$inject = ['$http'];

    function RealmService($http) {
        // Should really be in config somewhere outside factory
        var endpoint = "https://us.api.battle.net/wow/realm/status?";
        var locale = "locale=en_US";
        var apiKey = "&apikey=YOUR KEY HERE";
        var jsonp = "&jsonp=JSON_CALLBACK";

        return {
            // Public API's
            getRealms: _getRealms
        }

        function _getRealms() {
            return $http.jsonp(endpoint + locale + apiKey + jsonp)
                .then(getRealmsComplete)
                .catch(getRealmsFailed);

            function getRealmsComplete(response) {
                return response.data;
            };

            function getRealmsFailed(error) {
                console.log(error)
            };
        };
    };

})();
The factory is pretty simple, it builds a url using a “config”, makes the http request, handles the success and failure, and returns data. We will use this in our AngularJs controller to retrieve the data when requested.
AngularJs Controller
Our controller is going to handle the user interaction, and use the factory to retrieve the data for display using HTML directives. Create the home.controller.js file in js/home.
(function () {
    'use strict';
    angular
        .module("RealmStatus")
        .controller("HomeCtrl", HomeCtrl);

    // Minification friendly dependency injection
    HomeCtrl.$inject = ['RealmService'];

    function HomeCtrl(RealmService) {
        var vm = this;
        // Holds data object
        vm.realms;

        // Table sorting defaults
        vm.sortType = 'name';
        vm.sortReverse = false;
        vm.searchRealm = '';

        // Call our realm service factory on-load, to get the data
        RealmService.getRealms()
            .then(function (data) {
                // Assign realms to the data from the webservice
                vm.realms = data.realms;
            });

    };

})();
As you can see, we $injected the RealmService (our AngularJs Factory) into our controller, and used the .getRealms() method to return our promise chain with some data. We also have some defaults specified for our table sorting filters, that we’re going to add in the html later.
AngularJs Filters
This file defines filters that we can use in our HTML to morph the output of certain data. Create app.filters.js.
(function () {
    'use strict';
    angular
        .module("RealmStatus")

        // Capitalizes words
        .filter('capitalize', function () {
            return function (input) {
                return (!!input) ? input.charAt(0).toUpperCase() + input.substr(1).toLowerCase() : '';
            }
        })
        // Fixes the formatting of our realm list
        .filter('realmlist', function () {
            return function (array) {
                var fixed = [];
                array.forEach(function (item) {
                    item = item.replace(/-/g, " ");
                    item = item.charAt(0).toUpperCase() + item.substr(1).toLowerCase();
                    fixed.push(item);
                });
                return fixed.join(", ");
            }
        });

})();
We will use these filters in our HTML file below.
Index.html
The index.html contains references to all our AngularJs scripts, as well as inline attributes to let AngularJs do its magic. I will try to highlight only the important parts for brevity.
<body ng-app="RealmStatus"></body>
This line is important, it lets AngularJs know that everything within it is part of the app. Next, lets declare our controller, like the ng-app directive, ng-controller assigns everything within the div to itself.
<div ng-controller="HomeCtrl as vm"></div>
We used ng-model to create a variable in page scope to hold our table filter input “searchRealm”. This is where the user will type in what they’re filtering for in the table search input.
<!-- Filter input box -->
<input type="text" class="form-control" placeholder="Filter..." ng-model="searchRealm" />
To make the table headers clickable, and modify the table filter, we added the ng-click mechanism below to each header, replacing vm.sortType with the appropriate type.
<!-- Table headers with sorting -->


<th ng-click="vm.sortType='name'; vm.sortReverse = !vm.sortReverse">
    Name
    <span ng-show="vm.sortType == 'name' && !vm.sortReverse" class="fa fa-caret-down"></span>
    <span ng-show="vm.sortType == 'name' && vm.sortReverse" class="fa fa-caret-up"></span>
</th>
Then, in our table data rows, we filtered the data inside ng-repeat using the filters in the controller. These are changed by clicking the table headers, and the DOM is updated on the fly (thank you AngularJs!).
<!-- NgRepeat to display each realm per row sorting is applied here too -->

<tr ng-repeat="realm in vm.realms |orderBy:vm.sortType:vm.sortReverse | filter:searchRealm">
    <td>
        <span class="status-{{realm.status}}" uib-popover={{realm.connected_realms|realmlist}} popover-title="Connected Realms" popover-trigger="mouseenter">
            {{realm.name}}
        </span>
    </td>
    <td>
        <span class="pop-{{realm.population}}">
            {{realm.population | capitalize}}
        </span>
    </td>
    <td>
        <span>
            {{realm.battlegroup}}
        </span>
    </td>
    <td>
        {{realm.timezone}}
    </td>
</tr>
Also, notice the app.filters we created earlier being used here. This is what generates our table, and populates it with data.
That’s all there is to it, a nice, clean and simple web application in AngularJs. Please check out GitHub for a full view of the code, it may answer any questions you have, if not feel free to comment below and I will happily respond. Thank you for reading!