Minecraft Bedrock Edition ships its own dedicated server binary. However, running it bare-metal is still tedious: manual binary downloads, EULA acceptance, hand-edited configs, manual restarts when it crashes, and zero visibility into what the server is actually doing. Docker fixes most of that in one shot.
The Problem
Running Bedrock without Docker means:
- Download the dedicated server binary for your OS, accept EULA, configure properties by hand
- Open firewall ports manually and hope they stay open after a reboot
- SSH in every time you need to restart or update
- No easy way to check logs without opening a terminal
- Running multiple servers means juggling multiple processes and keeping track of which one is where
Why Docker + Portainer?
Docker = The server runs in a container that handles the Bedrock binary, auto-restarts, and updates for you. One command to start, stop, or wipe.
Portainer = Web UI for managing those containers. No SSH at midnight when your friends want the server back online—just open a browser tab and click restart.
Benefits:
- 5-minute setup with an automated bootstrap script
- Auto-updates — the container pulls the latest Bedrock server binary on restart
- Easy backups — your entire server lives in one folder
- Resource limits — cap memory so the server doesn’t starve other processes
- Multiple servers without port conflicts (more on that below)
Prerequisites
- Host: Windows 10/11 with WSL2, or any Linux server
- RAM: 2GB minimum, 4GB comfortable for 5–10 players
- Network: Router access to forward UDP port 19132
- Tools: Git installed
- Time: ~10 minutes including Docker installation
The Solution: Automated Setup
I built a bootstrap script that handles Docker, Portainer, and the Minecraft container in one shot.
Step 1: Run the Bootstrap Script
wget -O bootstrap.sh https://raw.githubusercontent.com/Tillman32/minecraft-bedrock-server/refs/heads/main/boostrap.sh && chmod +x bootstrap.sh && ./bootstrap.shThis script:
- Installs Docker (if not present)
- Deploys Portainer for container management
- Pulls the
itzg/minecraft-bedrock-serverimage - Creates the server directory at
/opt/minecraft-server - Starts the container with auto-restart enabled
Wait about 60 seconds after the script finishes — on first run, the container downloads and extracts the Bedrock dedicated server binary before it’s ready to accept connections.
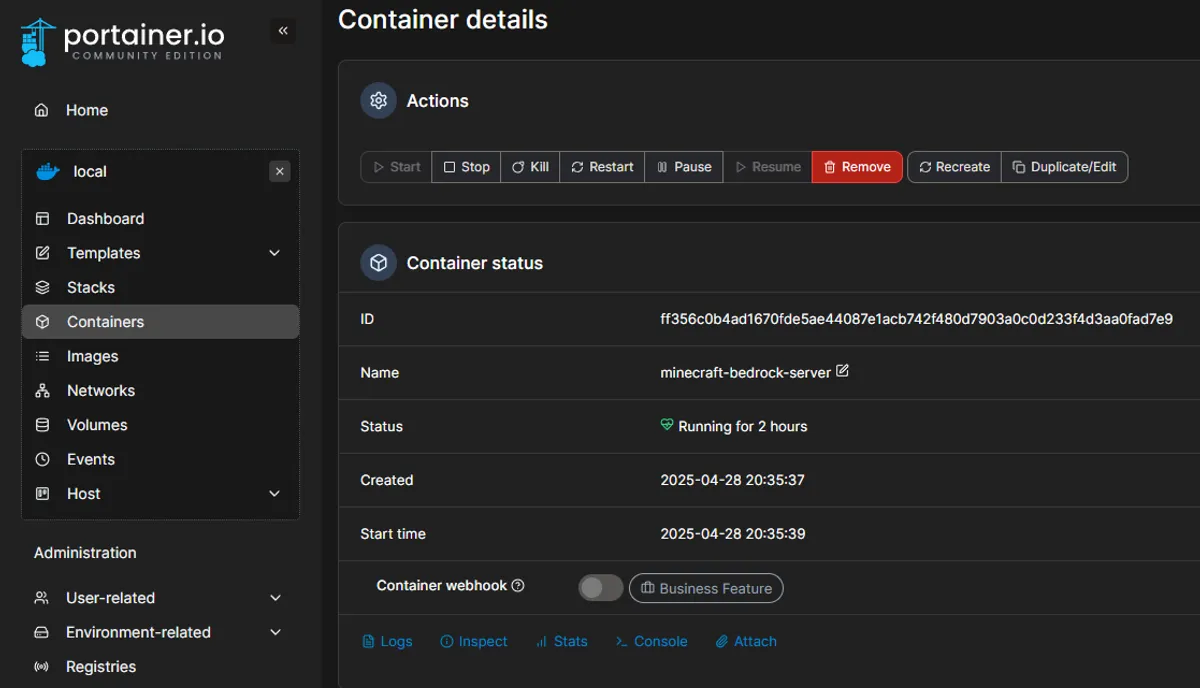
Step 2: Configure Portainer
Open https://<your-server-ip>:9443 in a browser.
- Create an admin account on first login
- Go to Containers to see your server running
- Click the container name to view live logs, restart, or update settings
Step 3: Connect from Minecraft
- Open Minecraft Bedrock Edition — Windows 10, Xbox, mobile, or PlayStation (not Java Edition)
- Go to Play → Servers → Add Server
- Enter your server’s IP and port
19132
Hit Save and connect. That’s it.
What I Learned / Gotchas
Bedrock is a native C++ binary, not a JVM app. This is worth knowing because a lot of Minecraft server guides assume Java Edition, which does require a JRE. Bedrock ships precompiled binaries for Linux and Windows — the itzg container handles downloading and running the right one for your architecture.
UDP, not TCP. Bedrock uses UDP port 19132. If your firewall rule opens TCP by default, nothing will work. On Linux:
sudo ufw allow 19132/udpOn Windows with WSL2, you may need to forward the port from Windows into WSL using netsh or configure port mapping in Portainer.
Server properties take effect on restart. After the first run, edit /opt/minecraft-server/server.properties to change:
server-name— what shows in the server browsergamemode— survival, creative, adventuredifficultymax-players
Restart the container in Portainer for any changes to apply.
Add-ons live in the world directory. Drop behavior and resource packs into /opt/minecraft-server/worlds/<world-name>/. The itzg image docs cover the full directory layout and pack activation.
Backups are just a tar. Everything lives in /opt/minecraft-server. A simple cronjob handles it:
tar -czf minecraft-backup-$(date +%F).tar.gz /opt/minecraft-serverGoing Further
Running Multiple Servers
Want separate servers for survival, creative, and a modded world? Run additional containers on different ports (19133, 19134, etc.) and use DNS SRV records to give each a clean subdomain. I covered the DNS side in Hosting Multiple Minecraft Servers with SRV Records.
Docker Compose Version
If you’d rather have this in code than a bootstrap script:
services: minecraft: image: itzg/minecraft-bedrock-server environment: EULA: "TRUE" SERVER_NAME: "My Server" ports: - "19132:19132/udp" volumes: - /opt/minecraft-server:/data restart: unless-stoppedRun with docker compose up -d.
Monitoring
Portainer gives you live logs and basic resource stats. For longer-term visibility, Grafana + Prometheus can track memory usage, player count, and uptime over time.